For an Instagram-worthy sunset and a bit of adventure, Shi Shi Beach camping should be on every PNW bucket list. We’ve put together everything you need to know for your first time camping on Shi Shi Beach in Olympic National Park!
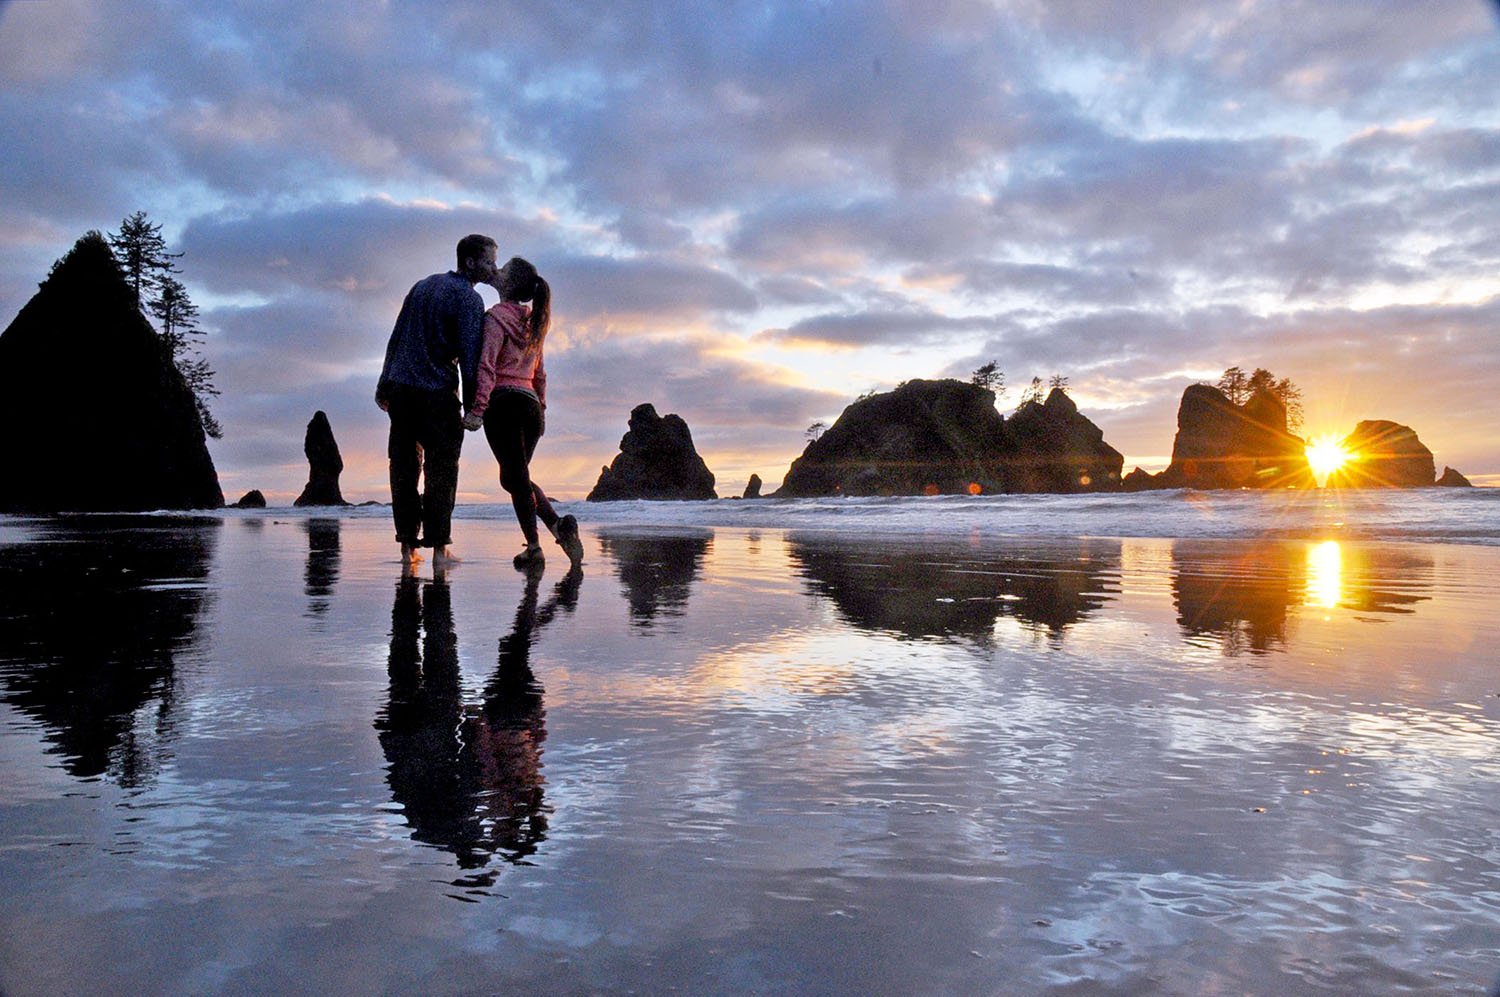
Maybe you’ve seen Shi Shi Beach on your Instagram feed, or perhaps you live in Seattle and keep hearing people talk about this somewhat remote destination.
And if you’ve never heard of this lovely spot in Washington’s Olympic National Park, allow me to introduce you.
(I think photos are the best introduction, so here ya go…)
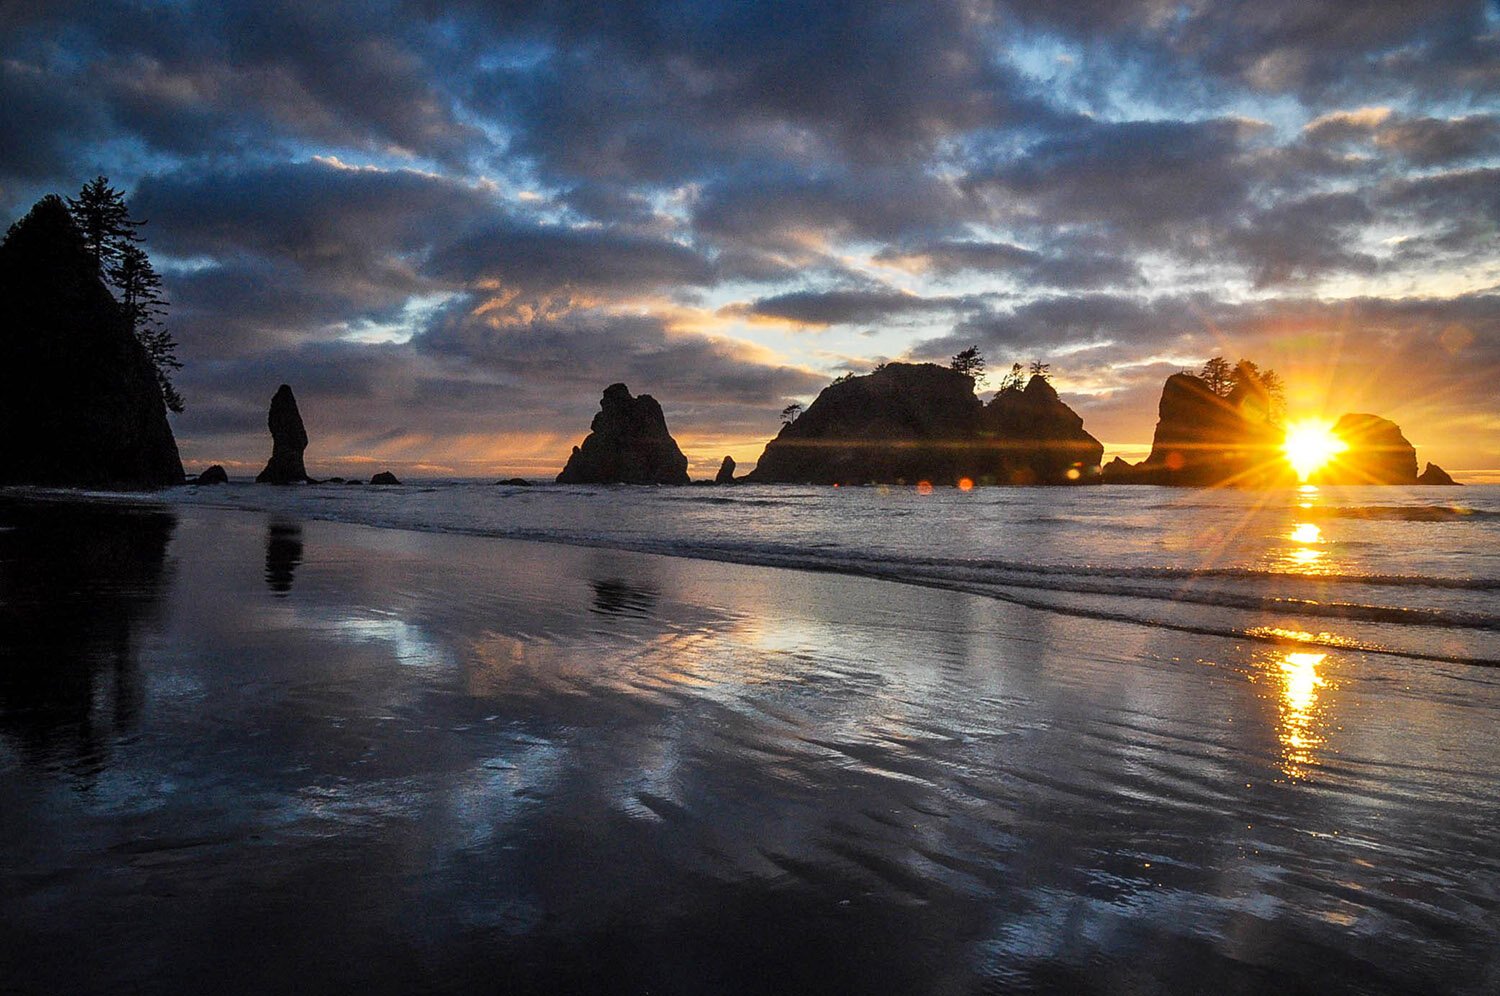
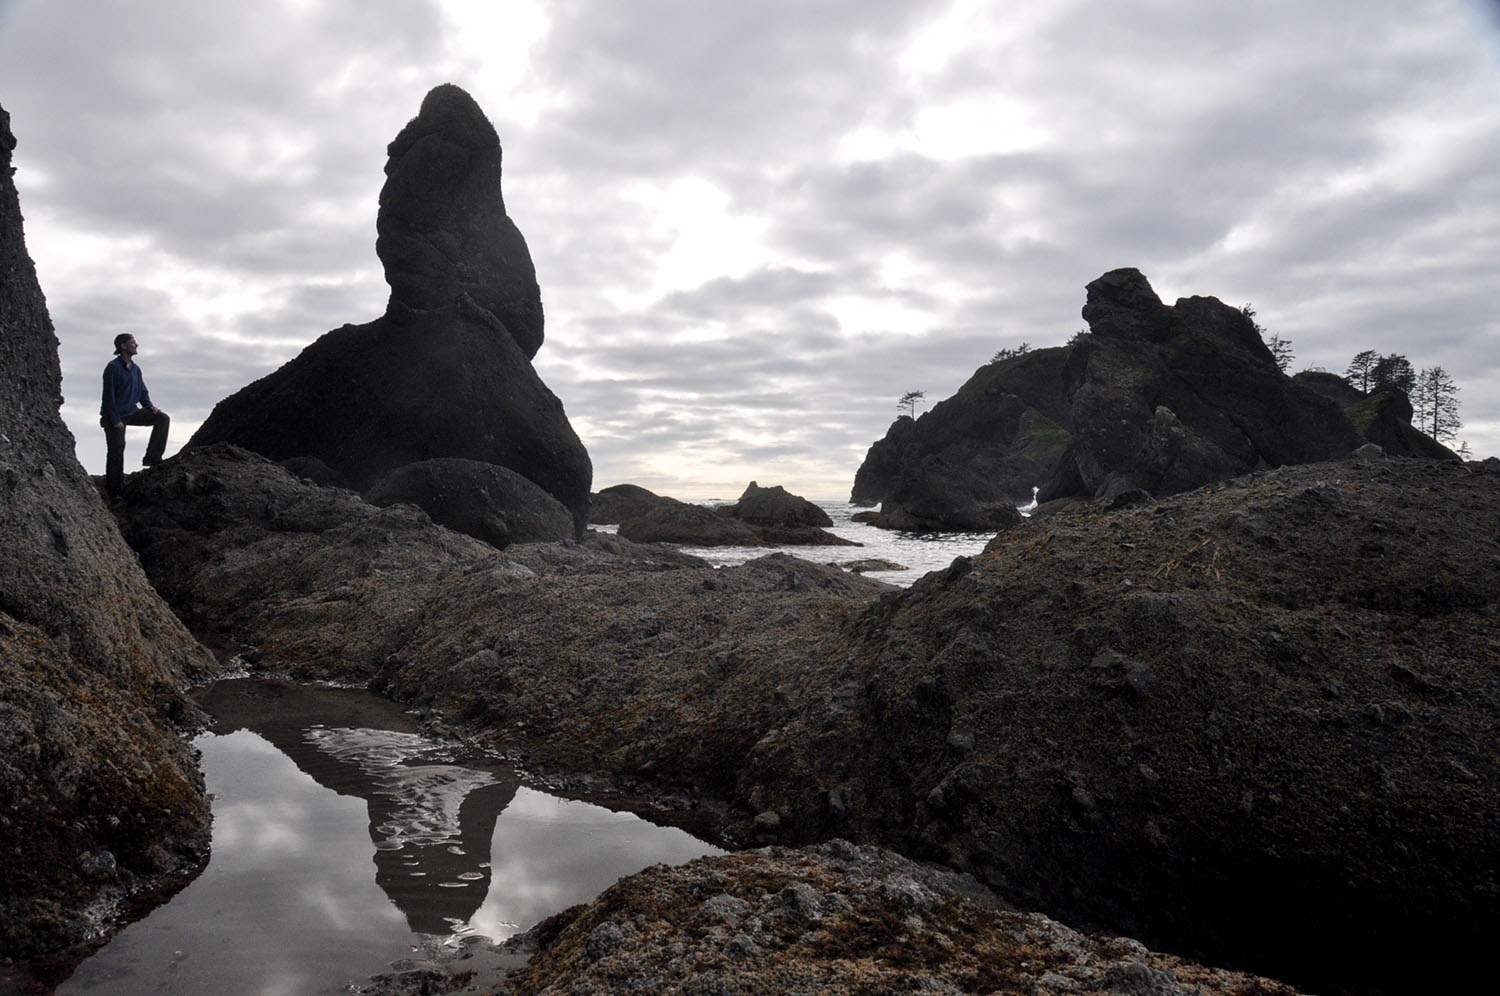
There’s no question about it: Shi Shi Beach is a photographer’s dream and arguably on of the coolest places to camp in Washington.
We, too, were intrigued by this beauty and decided we’d make it a destination on our time in the Olympic Peninsula.
Turns out it’s a bit more complicated than just rolling up to the beach with a tent, so we thought we’d share our tips to make your trip there as seamless as possible.
If you’re dreaming about camping on Shi Shi Beach, this guide is a must-read and is packed with everything you’ll need to know – from what permits you’ll need, to how to get there, and the best place to set up camp!
Shi Shi Beach Camping Guide
- How to Get to Shi Shi Beach
- Camping Permits & Cost
- Shi Shi Beach Hike
- What to Pack
- Things to Do
- Tips for Camping on Shi Shi Beach
- Shi Shi Beach vs. Second Beach
- More things to do in Olympic National Park
Ultimate PNW Bucket List!
Traveling around the Pacific Northwest? We have just what you need!
We’ve created the ultimate PNW Bucket List, filled with fun and unique adventures. From epic outdoor escapes to off-the-beaten-path foodie experiences, we have a little something for every type of traveler!
Go ahead and grab your copy now. It’s free, so what do you have to lose?!
First things first: How do you pronounce Shi Shi?
I tend to pronounce things wrong. A lot. I was corrected when I said “She-She” at the visitors center in Port Angeles, and I thought I’d spare everyone else the eye roll I endured by making sure you have the correct pronunciation: Shy-Shy.
Now you’ll sound like less of a newb than I did. You’re welcome.
How to get to Shi Shi Beach
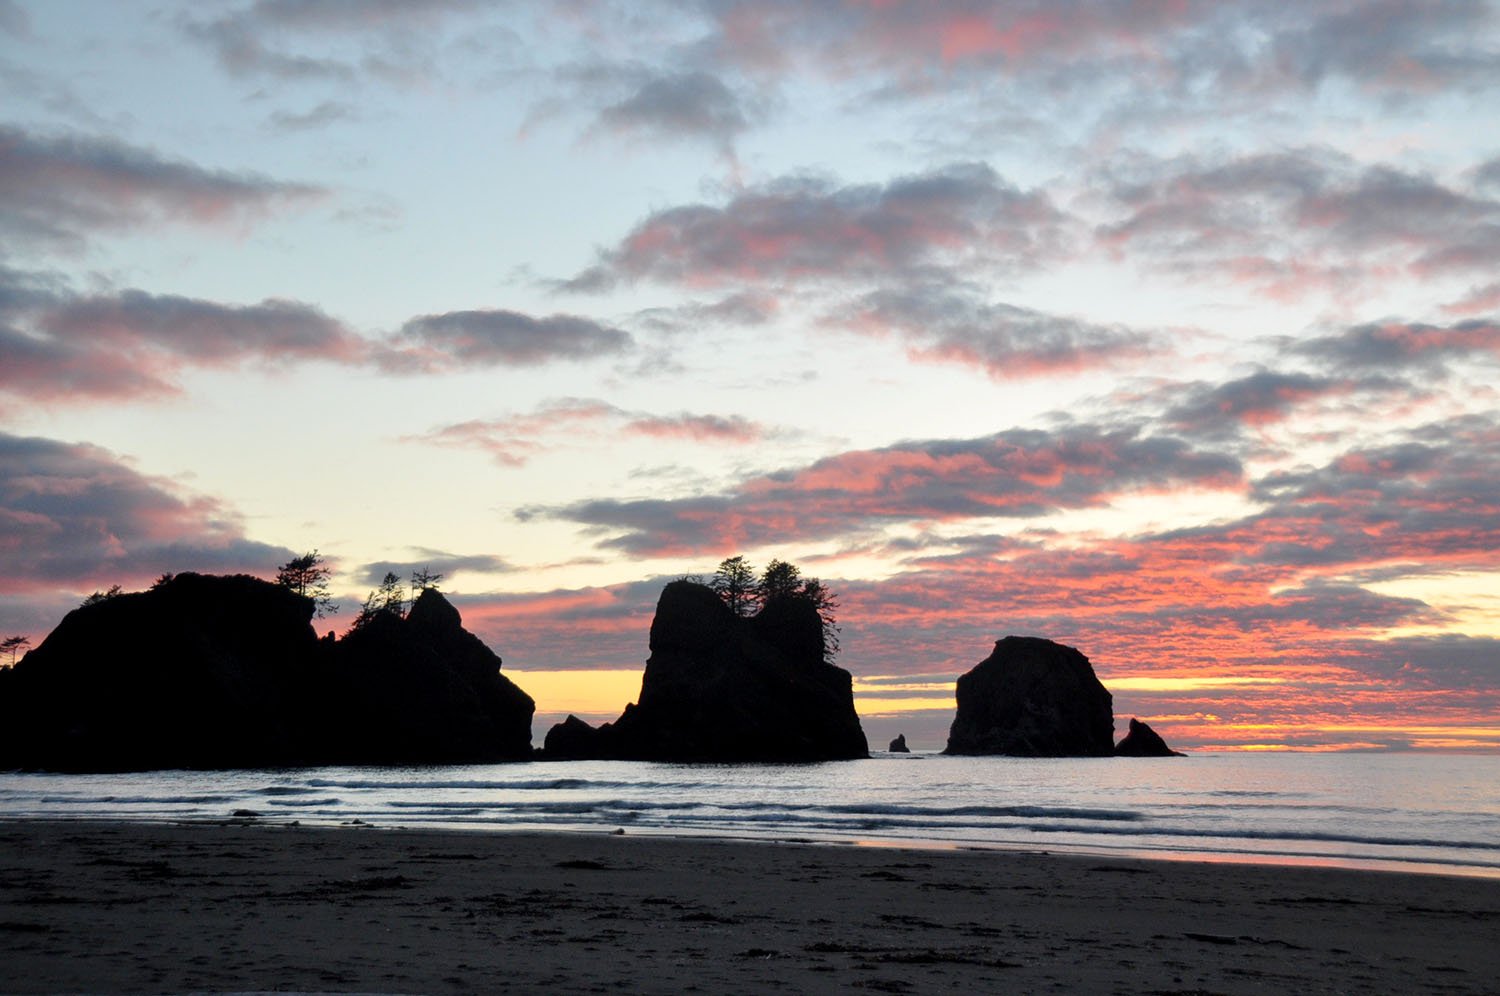
Shi Shi Beach is located in Olympic National Park, however, the entrance to Shi Shi Beach trail is in the Makah Indian Reservation. As such, you’ll need a National Park permit as well as a Makah Reservation permit (more on that below).
Directions:
1. From Port Angeles, drive Highway 101 West and then turn right onto WA Hwy 112 West. You’ll take WA Hwy 112 through the towns of Joyce, Clallam Bay and Sekiu all the way up to Neah Bay on the Makah Reservation. Once on the reservation, Hwy 112 becomes Bayview Ave.
2. Drive to the end of the bay and turn left on Fort Street, right on 3rd Ave, and then a left on Cape Flattery Road. Follow this for about 2.5 miles and turn left on Hobuck Road. Follow the signs to Shi Shi beach trailhead.
3. Remember if you’re staying overnight, you’ll have to park up the road about 0.6 miles from the trailhead at one of the designated parking areas (i.e. someone’s yard).
4. Once you have parked, head down the road one foot to the trailhead and follow the (muddy) trail for about 1 hour and 15 minutes until you get to the downhill before the beach. Slowly make your way downhill, and use the ropes as needed because it can get pretty slippery if wet.
5. You can camp anywhere along the beach, but we recommend heading south toward the Point of Arches for the best camping site. The beach walk might take anywhere between 45 minutes to 1 hour.
Shi Shi Beach camping permits (+ cost)
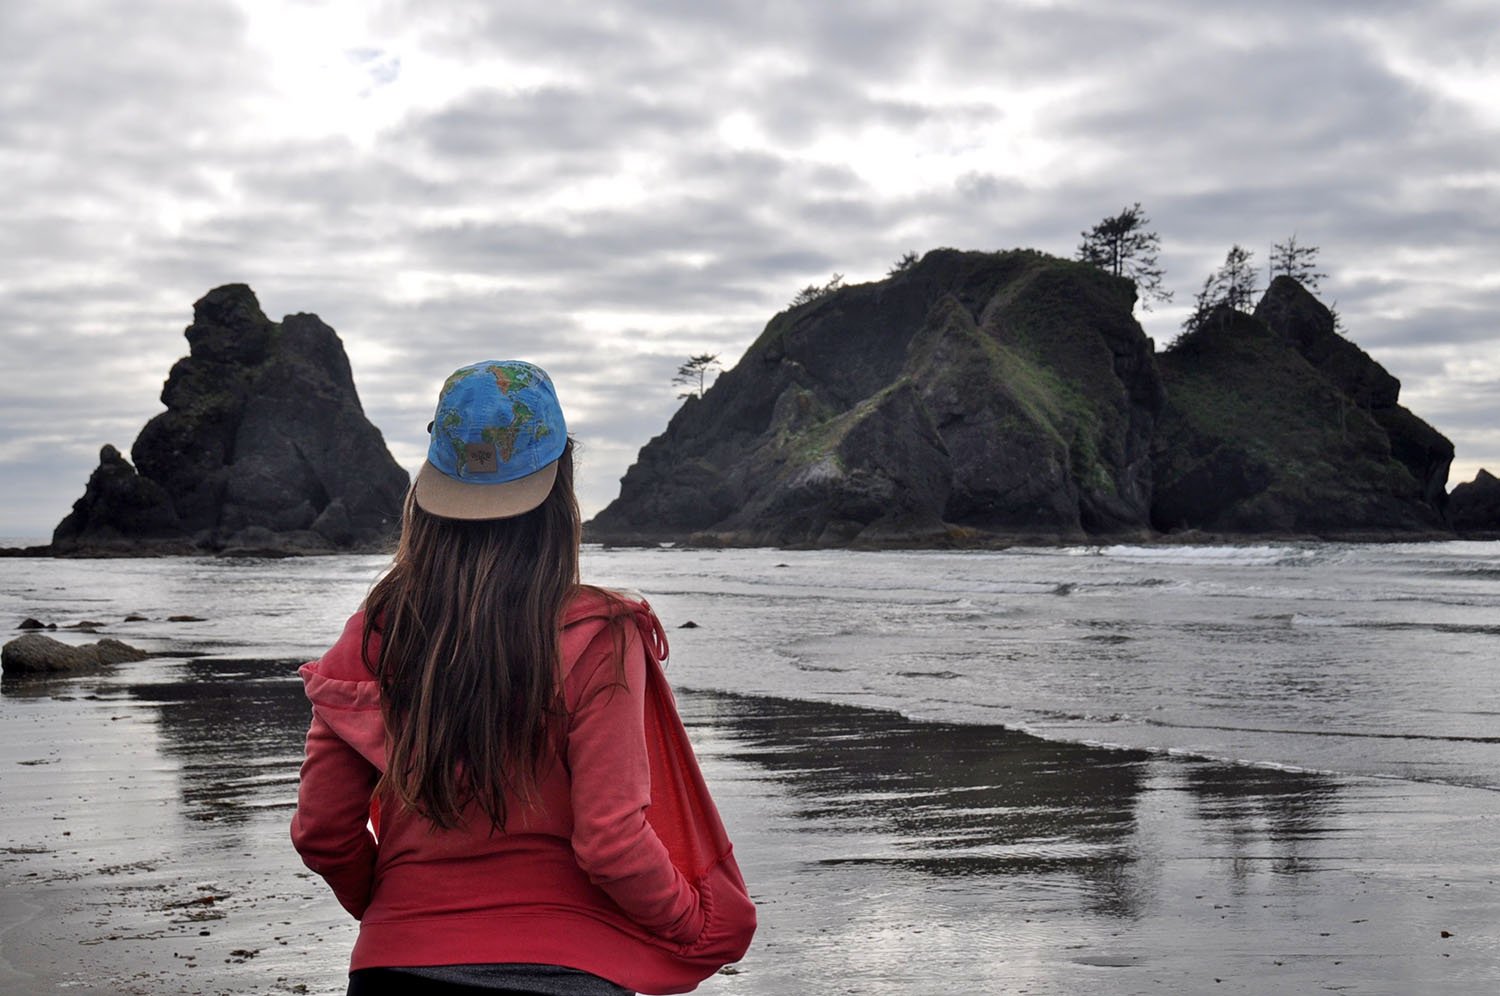
Obviously, you’ll need a tent and all the other fun stuff that goes along with camping (more on that later), but there are a few permits you’ll need in order to visit this beach.
Let’s go over what exactly you’ll need:
1. National Park Wilderness Permit
$8 per person, per night (+ a $6 processing fee). You can purchase this on Recreation.gov. Select the number of people in your party and click on the “North Coast” tab to see availability for Shi Shi Beach permits.
2. Bear safe canister
This is required for all campers on Shi Shi Beach. It is mostly to prevent critters like racoons from seeking out your food, instead of bears.
You can rent one, free of charge, from the visitors center in Port Angeles when you purchase your permit. You can return it to the same place (there is even an after hours drop box), or you can return it to the visitors center in Quinault.
Tip: If you plan to do a lot of backcountry camping, you may want to consider buying your own bear canister. (We have this one.)
3. Makah Recreation Pass
You’ll need a $10 pass to enter the Makah Reservation. You can purchase this at the Washburn General Store in Neah Bay.
4. Overnight parking fee
$10 per day ($10 for the day you arrive, and $10 for the day you leave, and $10 for any days in between. For example: A Friday to Sunday trip would cost $30).
Shi Shi Beach FAQs
How much does it cost to camp at Shi Shi Beach?
In total, for a one-night camping trip at Shi Shi Beach for two people, expect to pay $52 in fees (this doesn’t include food or your equipment).
Where can I park overnight?
If you plan to camp overnight, you cannot park your car at the trailhead. Instead, you’ll need to park on private property (here is the location of the lot) about 0.6 miles before you reach the trailhead. There are two properties we saw that advertised parking, but one is quite a bit further away, so we’d recommend passing by the first you see and parking at the second.
You will have to pay for each day your car is there. That means if you stay overnight, you’ll be paying for 2 days (aka $20). Yeah, I know, it’s a bit steep, but it’s really the only place to park. If you are just doing a day trip to the beach, however, you can park for free in the lot by the trailhead.
Related: The eco-friendly packing list perfect for camping and reducing your impact on the environment.
Can I visit Shi Shi Beach as a day hike?
Absolutely! In total, you’ll want to plan on hiking about 8 miles there and back. Bring some snacks and a blanket to enjoy on the beach before heading back.
While it’s totally possible to see in a day, if you have the time and are able to snag a permit, we’d highly recommend camping overnight. It is a pretty epic experience that you won’t soon forget!
Shi Shi Beach hike
- Distance: 3-4 miles one way, depending on how far down the beach you want to go.
- Insider Tip: If you have the time, we’d recommend making it down to the end of the beach (4 miles) to see some of the rock formations!
- Elevation: 583 feet
- Difficulty: On AllTrails, this hike is rated as “moderate”, but with little elevation, the most difficult part is getting through the mud.
- Type of trail: Out & back
- Crowds: Moderate, depending on the time of year
- Personal Experience: When we visited in late May, we only passed by a handful of others on the trail, however, later in the summer it can get busier
What is the hike to Shi Shi Beach like?
The hike is mostly through the Makah Indian Reservation land, and just before you reach the beach, you’ll cross into the National Park. In total, it’s about 2 miles to reach the ocean and another 2 miles to the end of the beach.
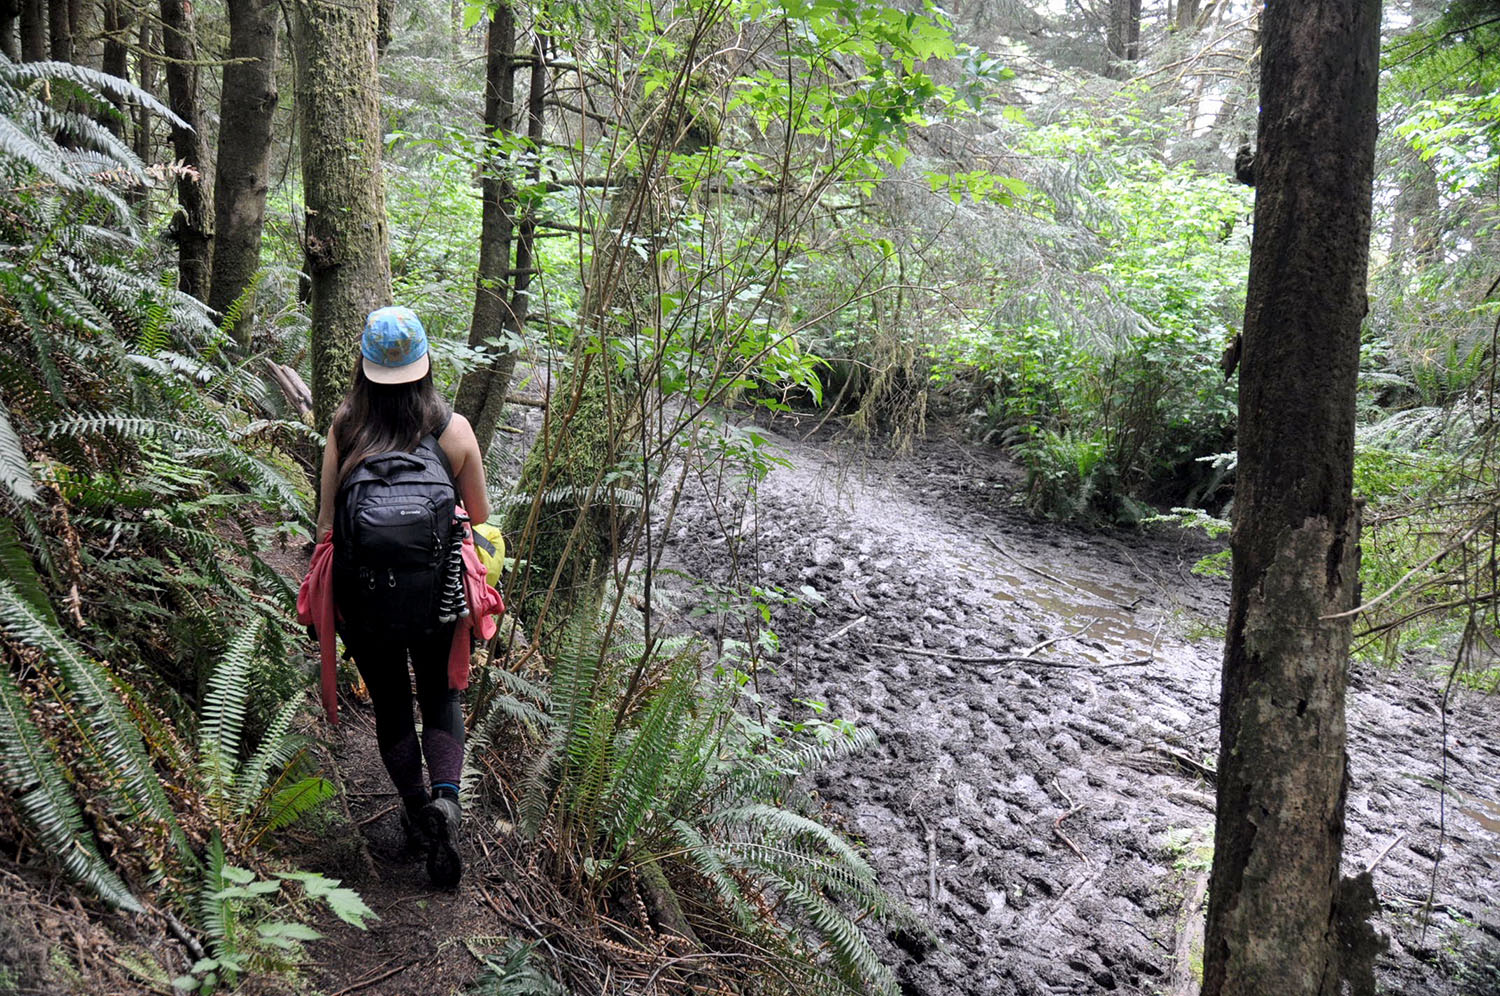
While an all-around easy hike, it can get incredibly muddy, so you may want to wear a pair of rubber boots or at least waterproof hiking shoes.
You’ll start walking on a well-maintained path with wooden bridges, but after roughly a mile, the bridges disappear, and you’re left with mud. Lots of it! In the super muddy parts, look to the left or right of the path and you’ll usually find an alternative, less muddy side trail.
Or if you have rubber boots, hike right down the middle of the trail for an enjoyable and muddy experience.
I’m assuming the amount of mud changes depending on the time of year you’re hiking, but when we hiked it in May, it was suuuuper muddy. You’ve been warned!
The trail itself is through a lush forest, and eventually, you’ll see the ocean peeking through the trees, signaling you’re outta the mud! (YAY!)
But now it’s time to hike along the beach… And if you’ve ever walked long distances on sand, you know that on its own is a challenge! But, it’s totally worth it in our opinion. There is a reason this is one of the top Olympic National Park hikes on everyones’ list!
What to pack for camping on Shi Shi Beach
While the hike isn’t anything too difficult, the long and muddy trail will be less comfortable if you’re carrying a ton of equipment. Our advice, as with most backcountry camping trips, is to pack as light as possible while being sure you have all the essentials.
Camping necessities
- Tent: This is the tent we personally have and love!
- Sleeping pad (optional: we roughed it for the night and didn’t bring pads — we were sleeping on sand after all — but it would have made our night more comfortable)
- Sleeping Bags
- Headlamp
- Solar lantern (optional, but we LOVE this one!)
- Jetboil backpacking stove and propane
- Mess kit (don’t forget utensils like we did! Ben had to fashion spoons out of stick and duct tape, and I think it’s safe to say we will never forget silverware again!)
- Bear safe canister: It’s actually required that you have one of these canisters when camping in the OP backcountry.
- Don’t worry, you don’t have to buy one of these babies (they can get expensive!) – you can rent one free of charge, included with your permit, from the visitors center in Port Angeles. The park ranger told us that the canisters are not so much to protect from bears on the coast, but from raccoons. And we did see a guy camping near us chasing a couple raccoons down the beach come nightfall.
- Lightweight tarp, sarong or blanket to hang out on
- Water and/or sterilization method: When camping on Shi Shi Beach, you can choose to either pack in all your water, or you must bring a way to sterilize water from the nearby streams (a filter or way to boil it).
- Good to know: We noticed three streams coming out of the forest and into the ocean. The main one, Petroleum Creek looked about as brown as the name implies. We filled up a bottle only to realize that our Steripen was out of batteries! (Insert curse words here!) Thankfully it was morning and we were on our way to hike back to our car. Honestly, the water didn’t look all that appealing, and after reading that it is contaminated with human and animal fecal waste and can’t even be treated with iodine or chlorine, I was happy we had enough water to make it through the night. Whatever you decide to do about water, just be sure to plan it out, so you’re not left without something to drink.
- Sturdy boots or rubber boots: the hike in can get incredibly muddy. I was okay in hiking boots, but Ben’s sneakers got pretty leaky and damp.
- Raincoat – this is the PNW, after all!
- Sun protection: sunscreen, sunnies, hat
- Toothbrush and toothpaste
- Bag for collecting waste (yours and any you find on the ground)
Camping food
- Here are our favorite camping meals!
- On shorter hikes, like this one, we sometimes like to bring lentils and/or quinoa, a chicken stock packet (from Trader Joe’s) and pre-chopped veggies for an easy and nutritious meal that packs up pretty well.
- Another one of our obsessions is Trader Joe’s Indian meal packets. They are made with clean ingredients and are super tasty. They’re not freeze-dried so they’re not as lightweight as your typical backpacking meals, but they’re not too bulky either.
- Insider Tip: If you don’t have a Trader Joe’s near you, these packets from Tasty Bite are similar. You can buy them from that link on Amazon, or we’ve also seen them sold at Costco.
- For breakfast, we like some sort of combination of oatmeal, Kind Bars, hard-boiled eggs (with a small plastic bag of salt and pepper), and clementines. There are some great breakfast (and dinner) ideas in this one-pot camping meals article.
The fun stuff
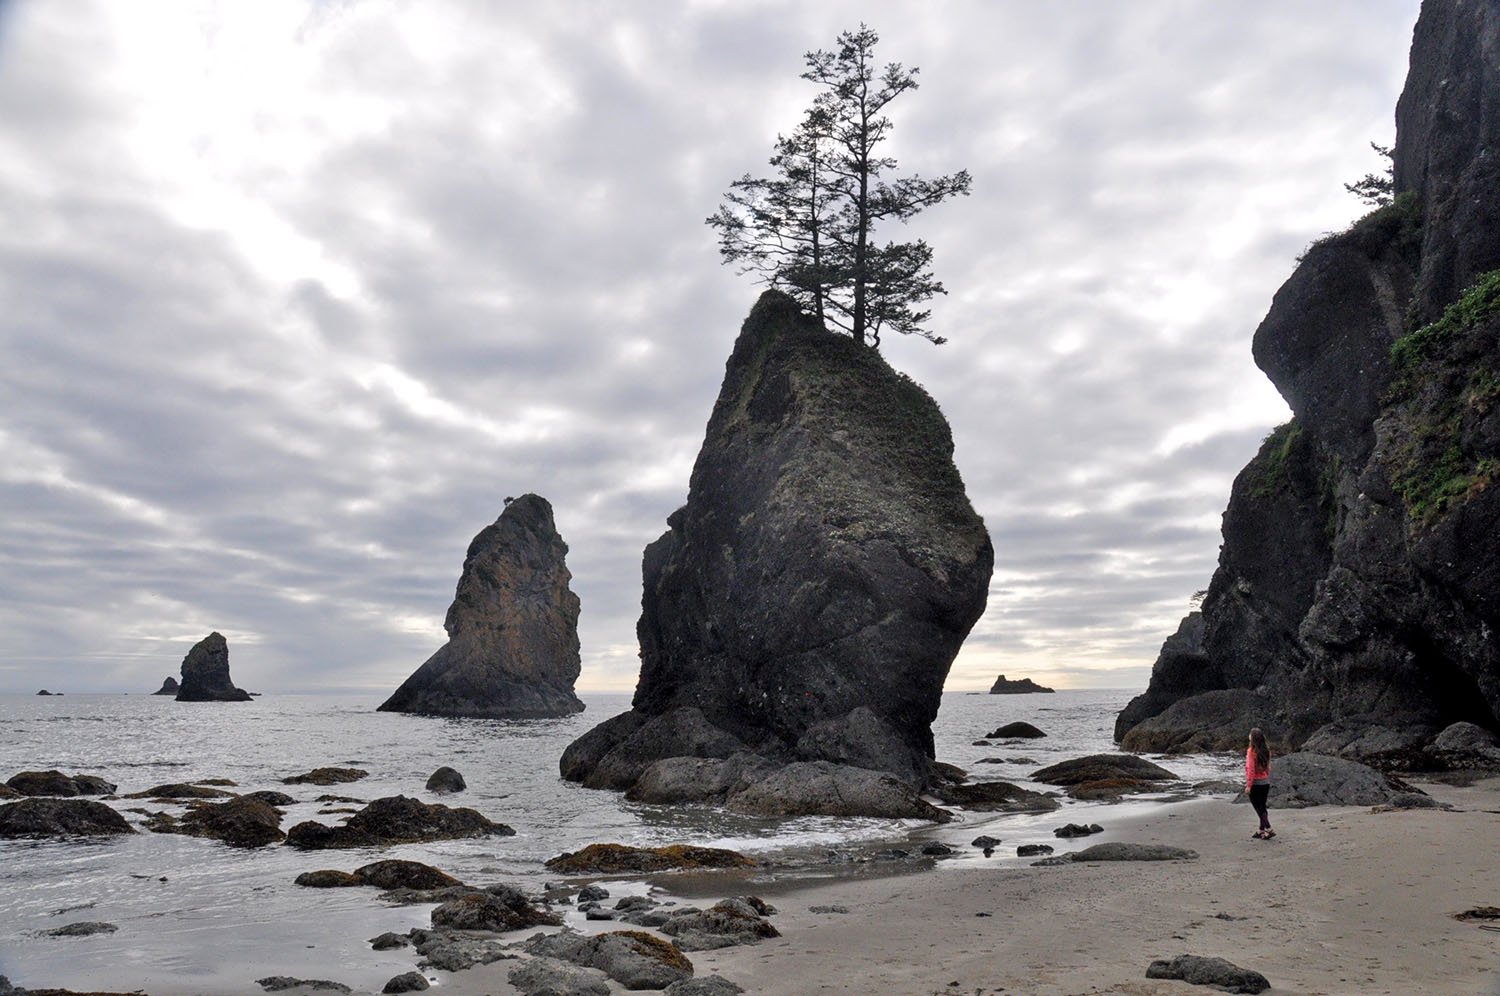
- Camera and tripod (this is our favorite one for hiking) – there are some incredible photo opportunities on Shi Shi Beach, especially at sunset, so don’t forget your camera equipment!
- Surf board (if you surf, that is!) – we saw a handful of people carrying their boards to the beach. The waves looked great for surfing, though I imagine the water is always relatively cold.
- Frisbee
- Cards
- Book or Kindle
- Hammock (this is our tried-and-true fave two person hammock) – we saw some guys who had strung theirs up onto two large pieces of driftwood
- Wine (optional, but also kind of a necessity!)
Things to do on Shi Shi Beach
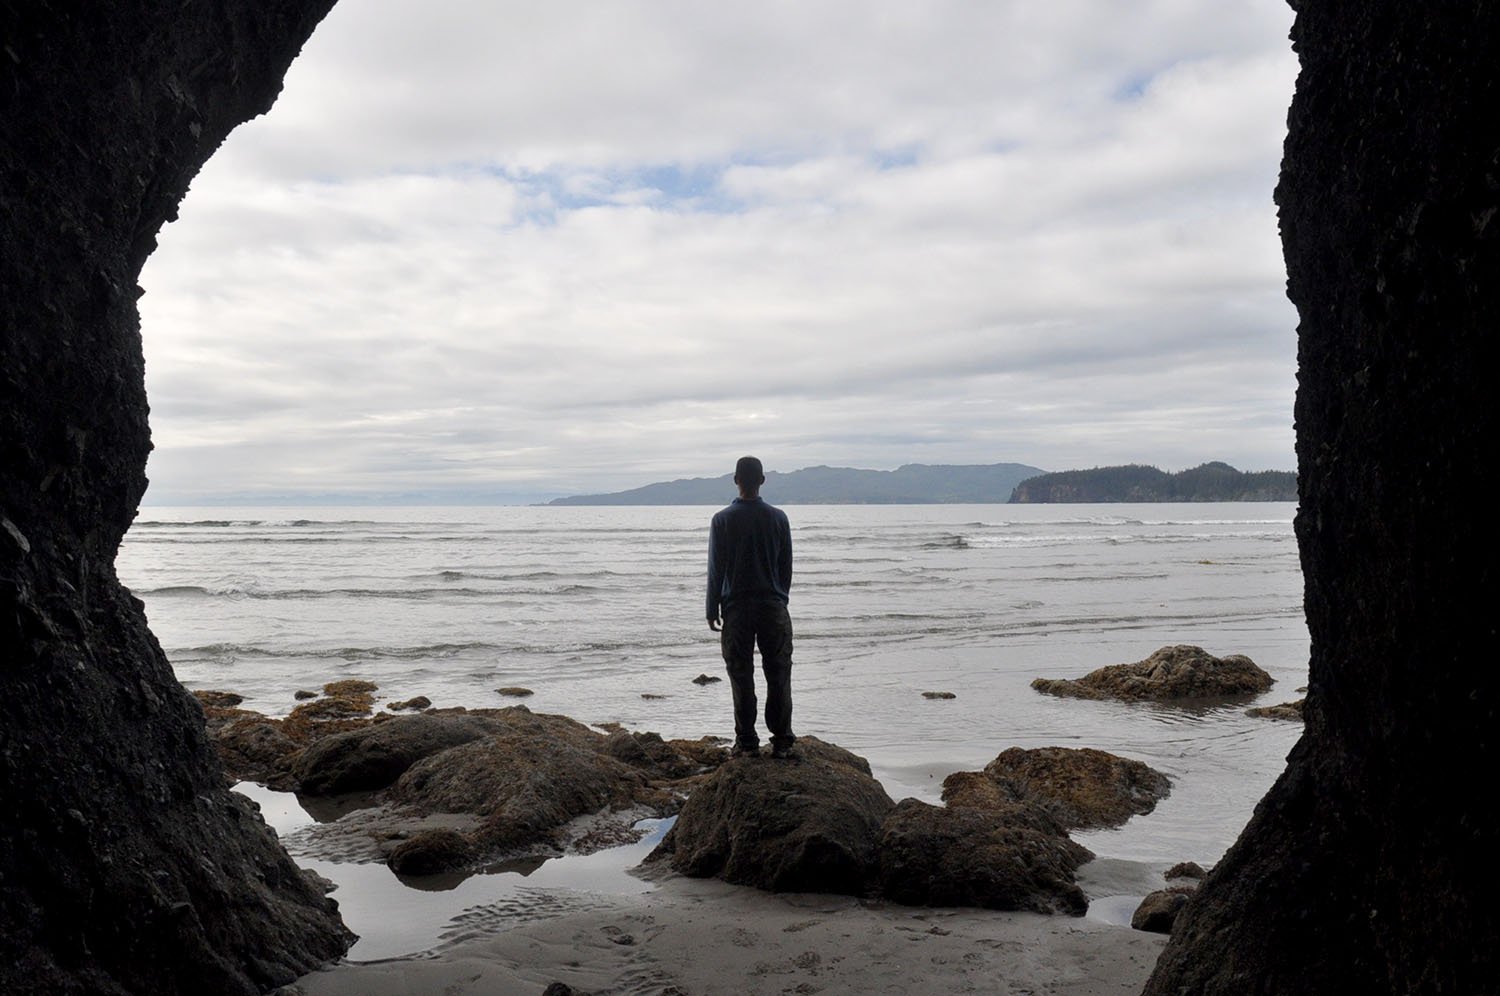
Once you’ve hiked in, the day is yours to do what you please! Here are some ideas of how to spend your time while camping on Shi Shi Beach:
- surf (you’ll have to pack in your own equipment)
- play frisbee
- play cards
- explore the tide pools and caves near the sea stacks
- hike to different viewpoints near the sea stacks
- build a fire out of driftwood
- take photos (bing your tripod for some epic sunset photos!)
- meet your neighbors
- relax in a hammock (try stringing it up on some driftwood)
- read
Tips for Shi Shi Beach camping
There were a few things we wished we had know before going to Shi Shi Beach, and some other tips that we just think are helpful for anyone else planning to camp on the beach.
1. Buy your food ahead of time
Avoid getting all your groceries on the reservation. Just like any peninsula, the prices are inflated. It’s nice to know there’s a place to pick up any last minute items you forgot (the Washburn General Store has a pretty decent selection), but we wouldn’t rely on it if you’re on a budget.
2. It might not be sunny
Even if it is sunny in Neah Bay, it doesn’t mean the sun will be shining on Shi Shi Beach. The marine layer tends to hang thick over the beaches of the Olympic Peninsula, especially in the late spring/early summer months.
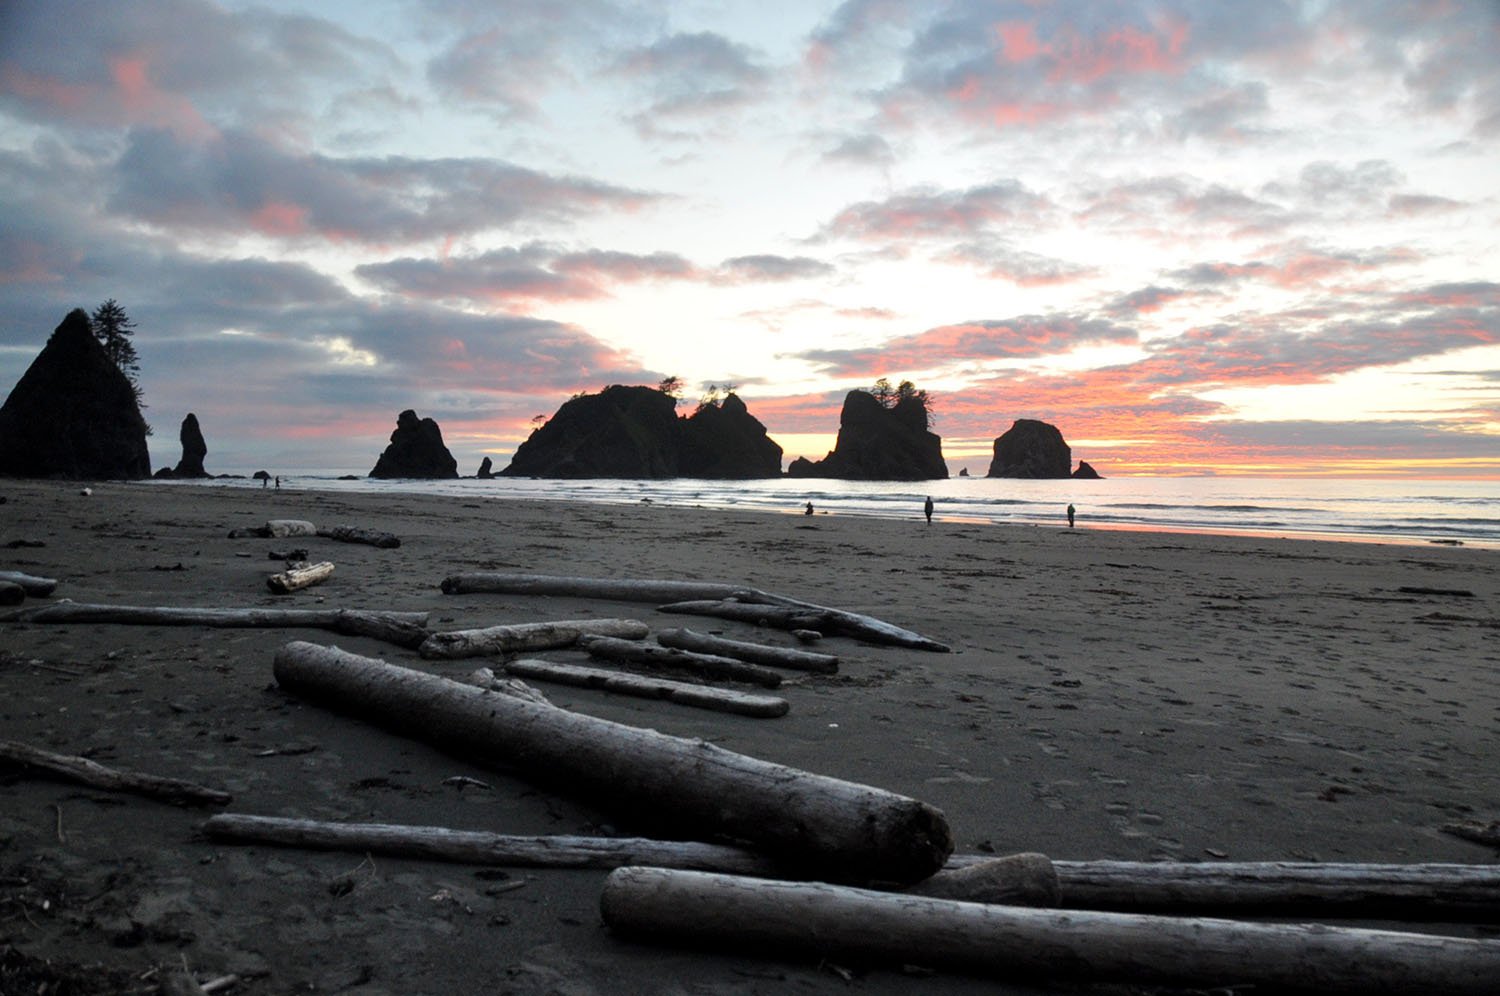
Don’t be too bummed though, because sometimes at sunset the marine layer burns off and the colors are magnificent. (The day that we went had a pretty thick marine layer, but we were lucky enough to still see an incredibly beautiful sunset.)
3. Place your tent right
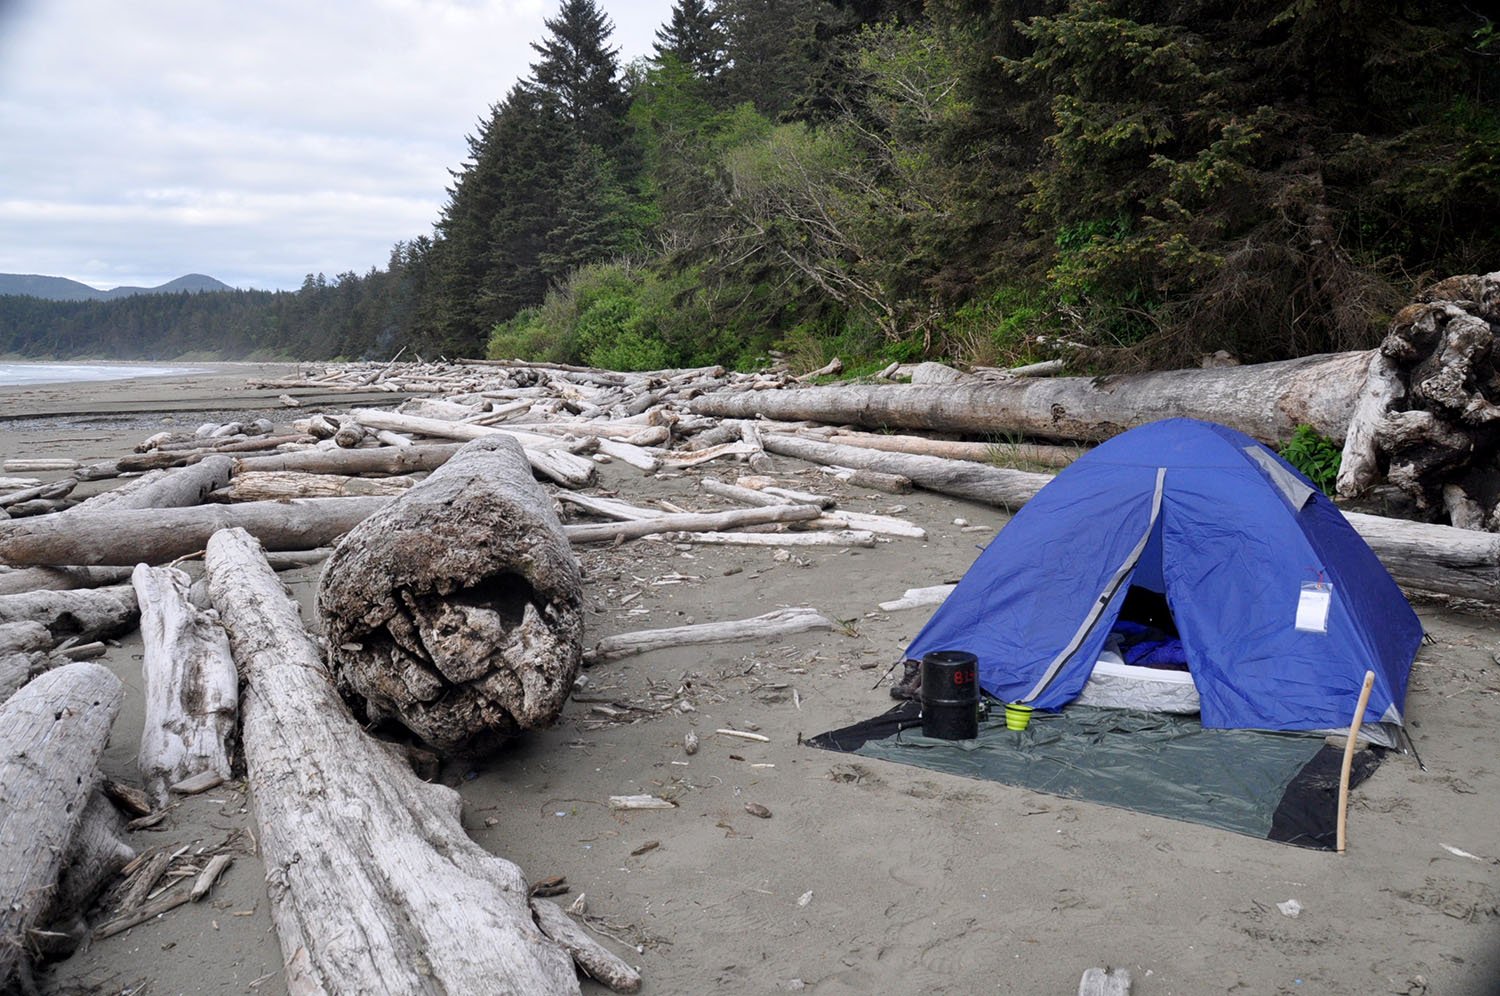
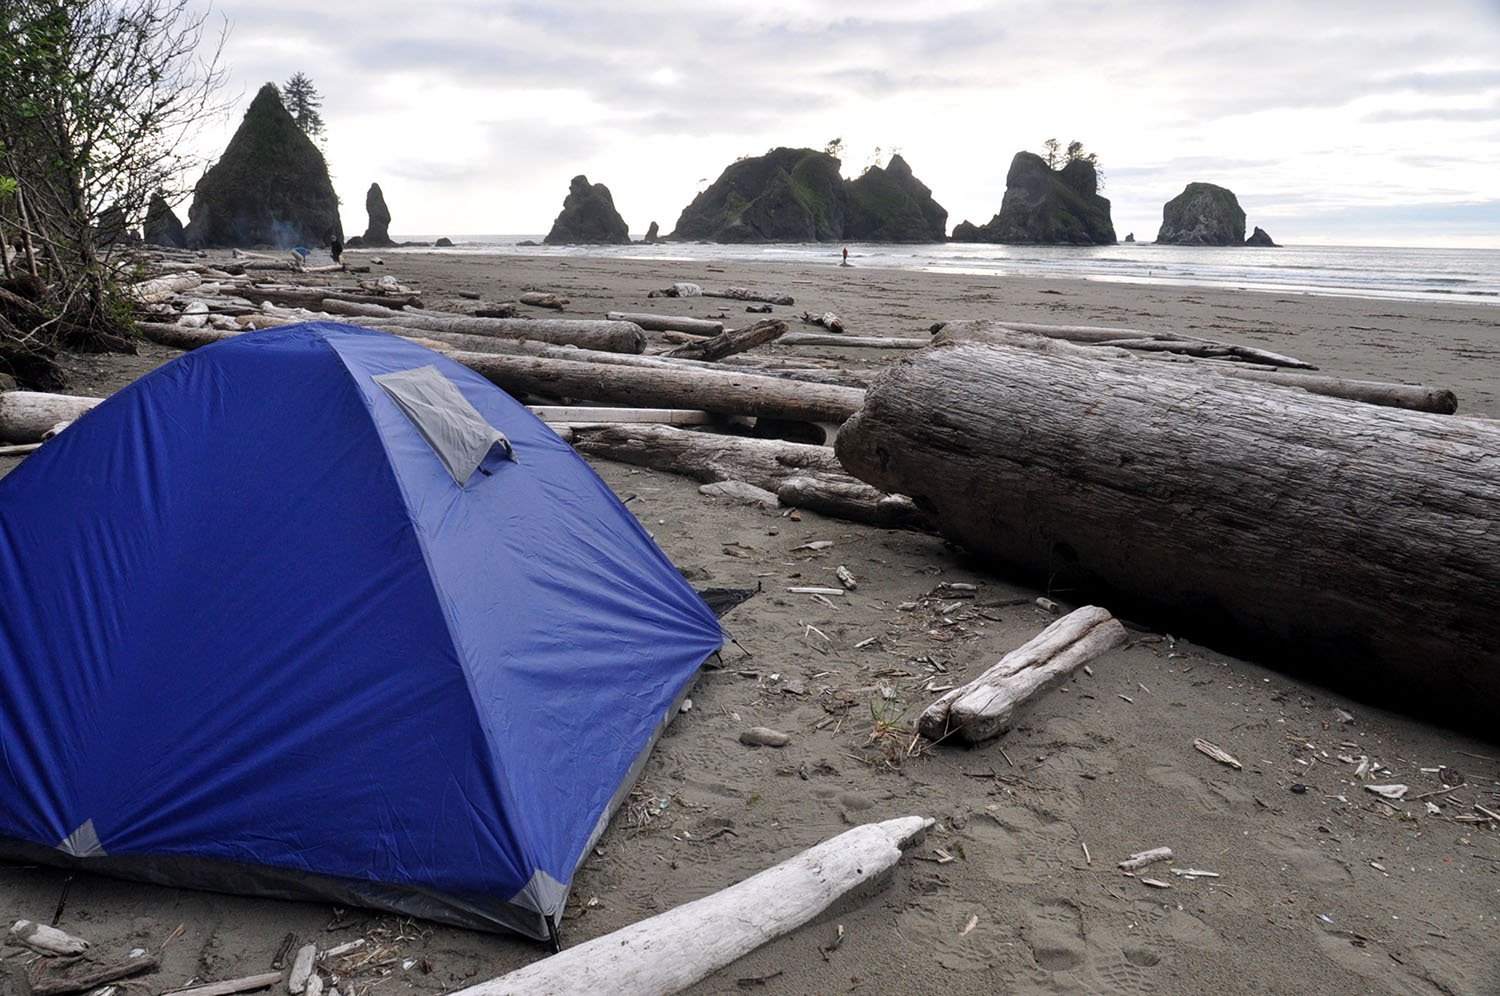
Pitch your tent above the tide line. How awful would it be to pitch your tent during low tide and wake up in the middle of the night during high tide to find your tent getting swept away into the Pacific Ocean?!
Avoid this disaster but pitching your tent right up next to the tree line. The tide doesn’t come in nearly that far, but it’s better to be safe than sorry!
4. Walk all the way to the end
Set up camp at the far south end of the beach. While we’re on the topic of where to set up camp, our recommendation is to pitch your tent as far down as you can go.
This will give you the most dramatic views and will mean you don’t have to trek down the beach at dusk to capture the sea stacks silhouetted in the sunset. You can simply step outside your tent for a stunning view.
5. Use the driftwood
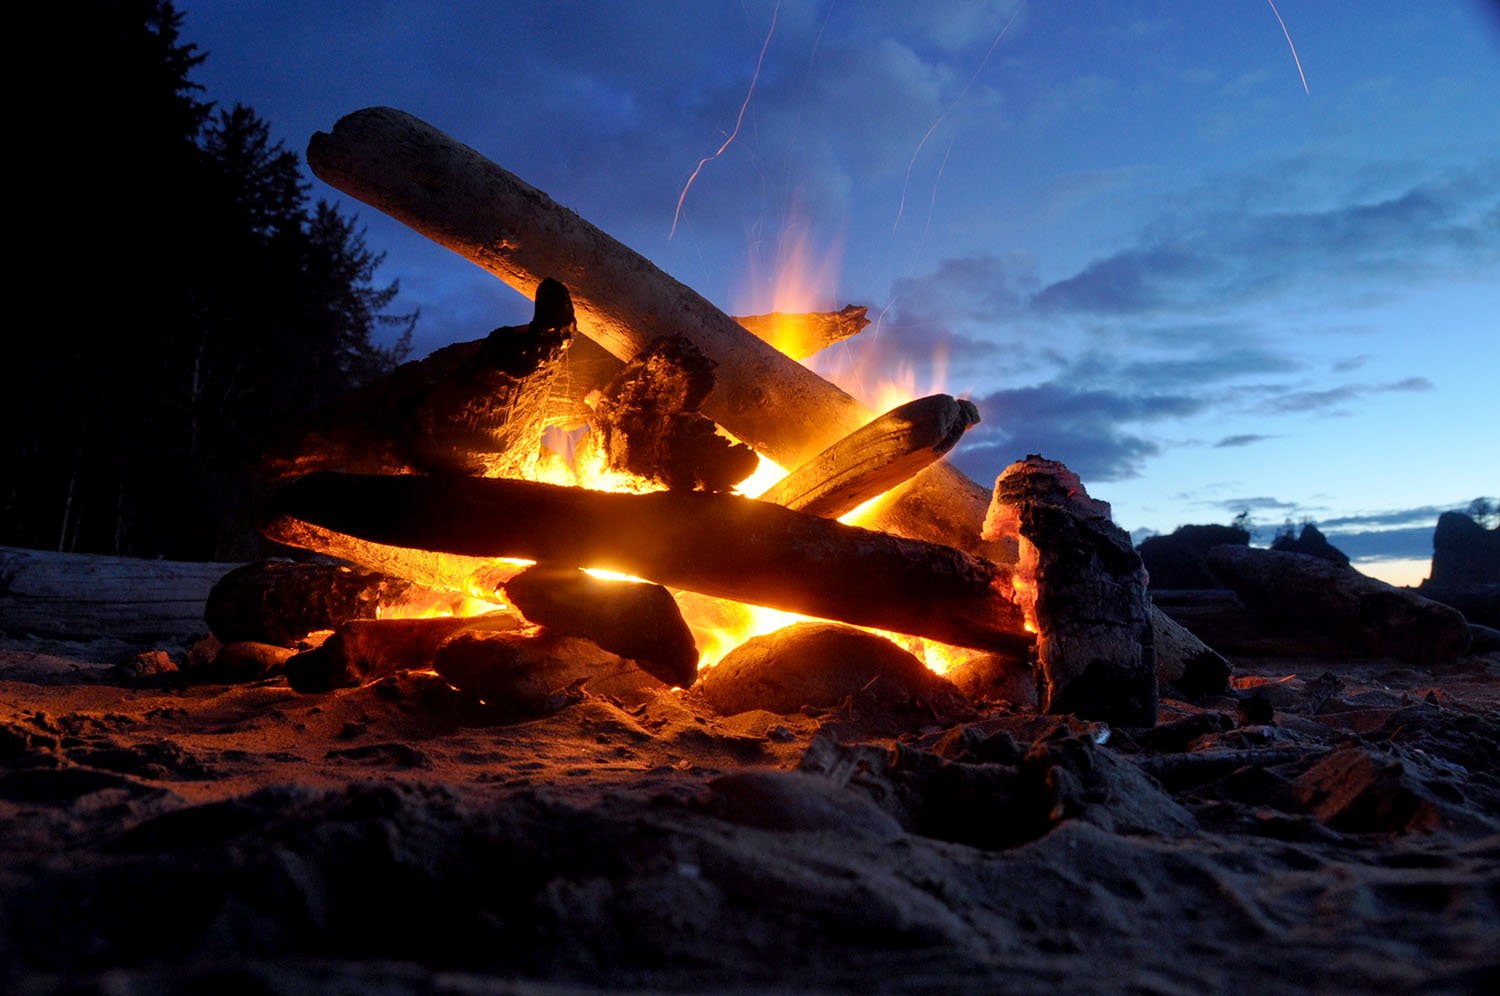
You can build fires, using only driftwood. I wouldn’t recommend relying on it to cook food though, as the Pacific Northwest is notoriously wet, and if it has rained a few days before your stay, it might be difficult to get a big fire going.
We love this tiny, lightweight backpacking stove for cooking meals!
6. Bring enough water
If you only listen to one tip, let it be this one!
We were told by the park ranger that there would be a small stream feeding into the ocean and we’d be able to fill up our bottles there. We packed our Steripen and were fully prepared to purify the water from the stream, as we’ve done many times.
But when we saw – or rather, smelled – the stream, we knew we would not be filling up there. And if there were any other clean streams we couldn’t find them (and trust us, we searched!). We asked all the other campers we saw and nobody seemed to know where to fill up.
We drank all our water before going to bed, as we hadn’t packed enough, and in the morning we were faced with a long hike back with nothing to quench our thirst. Don’t make the same mistake we did.
7. Know where to shower
If you need a shower after the hike, the public showers near the Washburn General Store are nice. They were free at the time of our visit (the coin slot doesn’t work and the shower turns on without it), and hot! It was a treat after camping on the beach!
8. Refuel your appetite
After your camping trip, head to Neah Bay to grab a bite to eat! There are a handful of options to satisfy lots of different cravings:
- Pat’s Place for Indian tacos and fry bread
- Linda’s Woodfired Kitchen for pizza
- Calvin’s Crab House for seafood
Camping on Shi Shi Beach vs. Second Beach
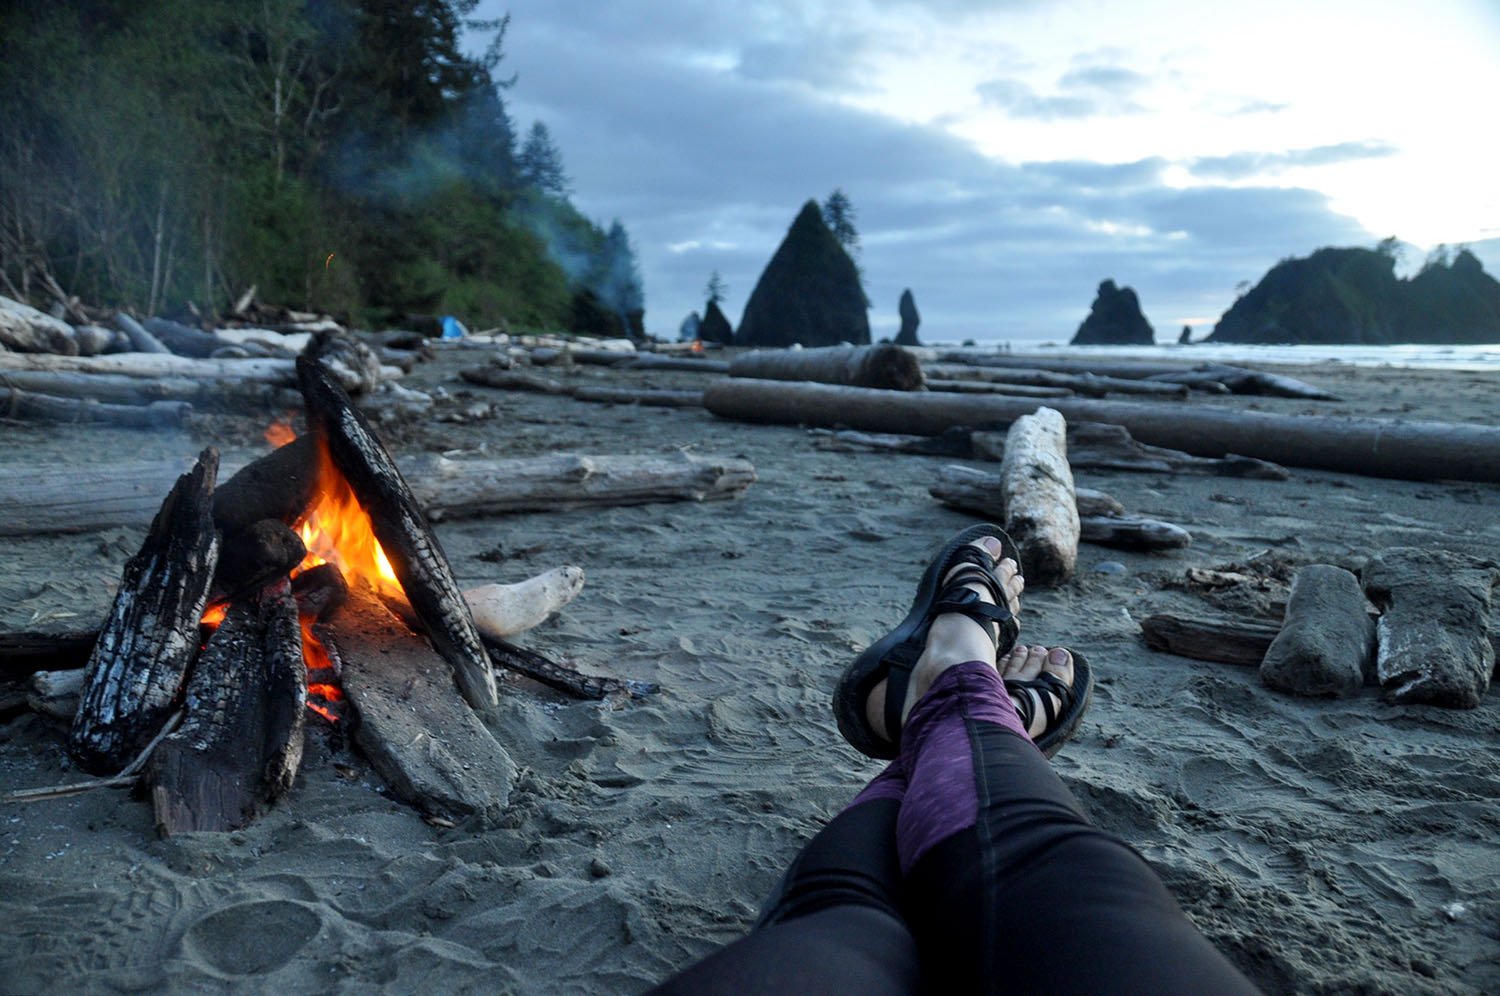
If you’re considering camping at Shi Shi, you’ve likely also heard of Second Beach, located just a bit down the coast outside of La Push. So what are the differences?
If you only have time for one, should you camp on Shi Shi Beach or Second Beach? We wondered this as well, so we hope our thoughts can help you make a decision that’s best for you.
Shi Shi Beach camping
- Longer trek to the beach (roughly 4 miles to the end of the beach – which is where you’ll want to be!)
- While the trail is easy, but it can be very muddy!
- Bigger beach, so it feels less crowded
- More expensive: to camp here, you must purchase a permit from the National Park (which you also need to camp on Second Beach) – it is $8 per person, per night and also includes a bear canister, which is required).
- In addition to this fee, you’ll also have to pay $10 per vehicle to visit the Indian Reservation – needed whether you camp overnight or just visit for the day. And you’ll also need to pay to park your car in a private lot, which is $10 per day (so if you stay overnight, it is $20).
Second Beach camping
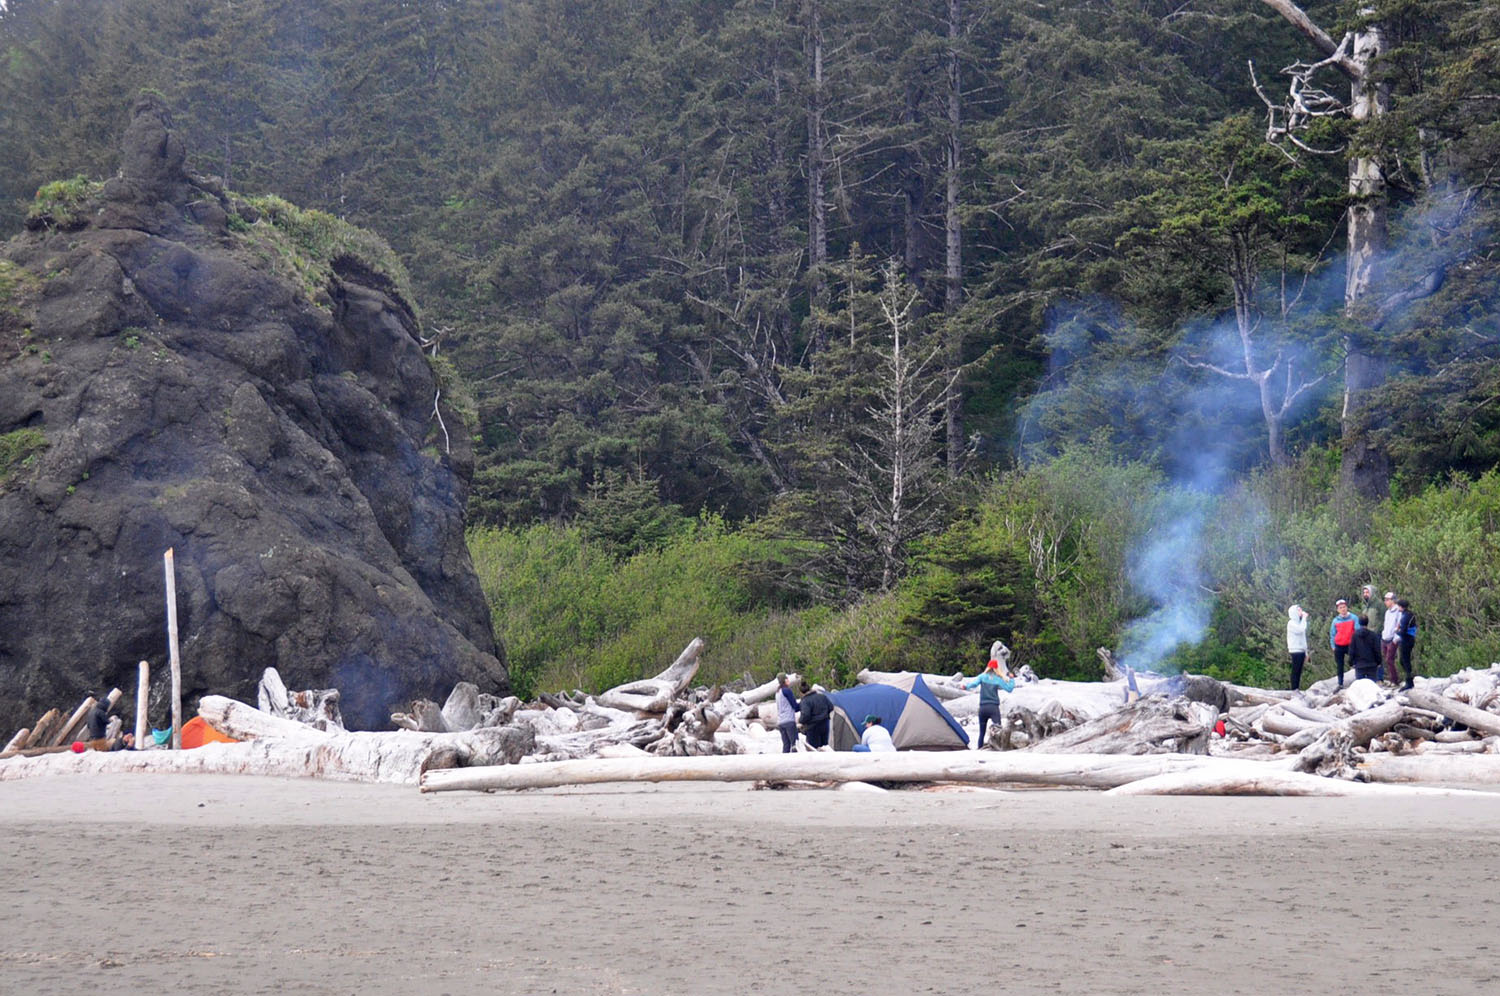
- Smaller beach, so everyone is closer together
- More of a party/community vibe than Shi Shi, where people kind of kept to themselves
- More easily accessible – only a 0.7 mile (non-muddy!) easy-peasy hike
- Less expensive: you don’t need to pay for parking or for the permit to hike on the Quileute Reservation land.
Alternative: Third Beach isn’t too far from Second, and tends to be less crowded. Though it’s not quite as epic (Second Beach has that iconic sea stack!). But with fewer crowds it is another option to consider.
Final thoughts: Should you camp at Shi Shi Beach or Second Beach?
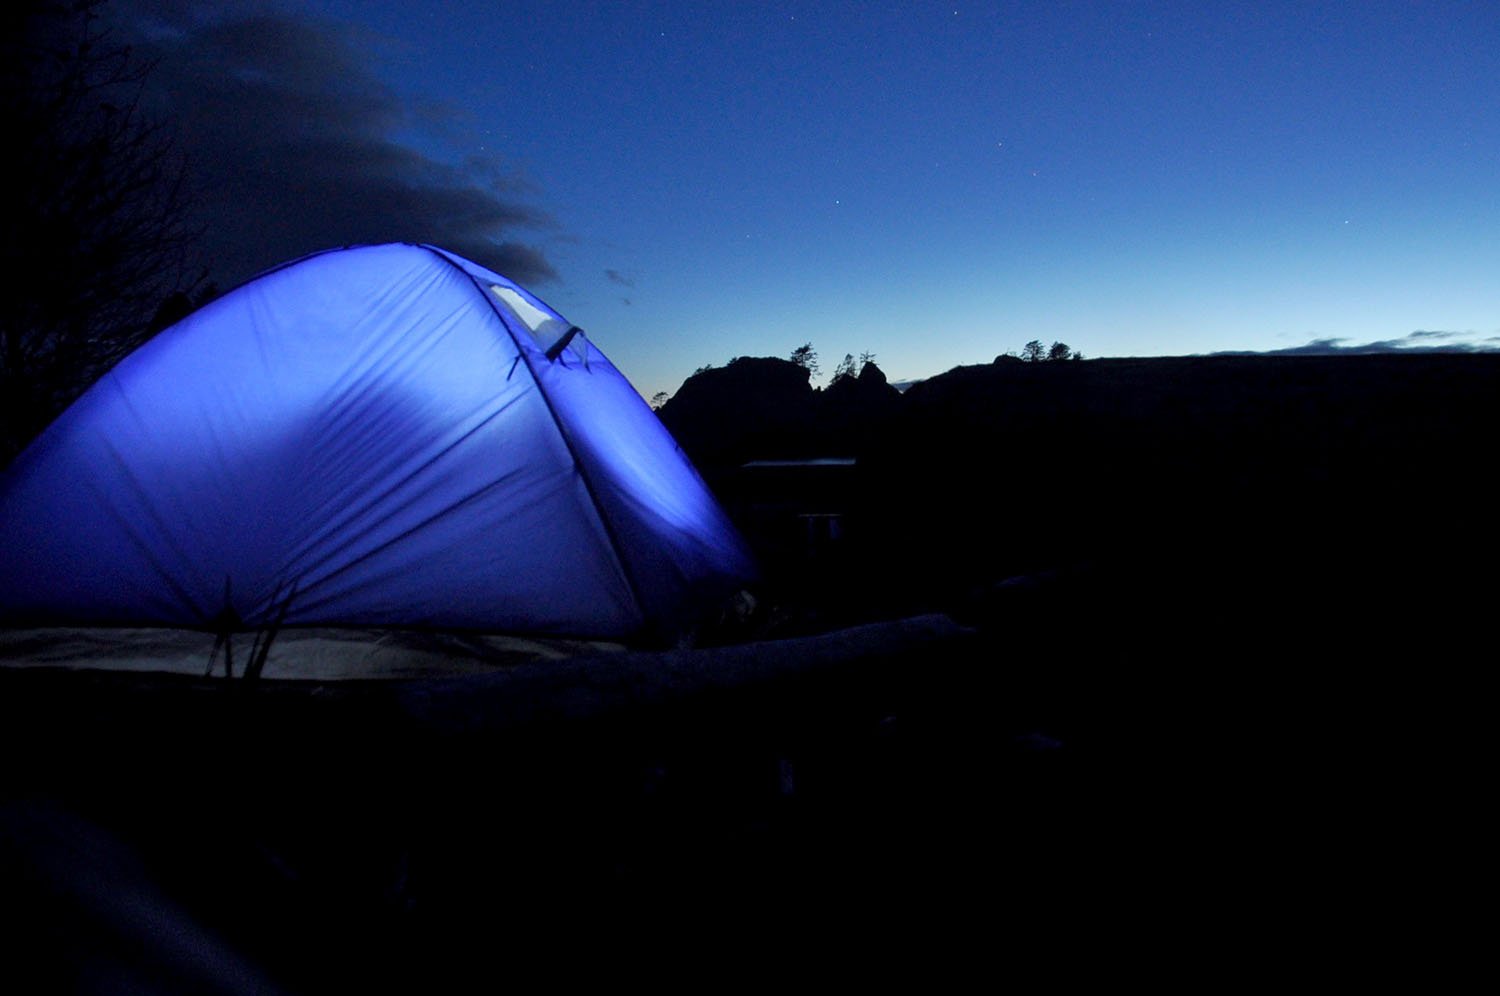
Shi Shi is much more of an adventure — and you’ll have to be a little more prepared. If you want to really get “out there”, Shi Shi Beach is our pick!
If you’re only doing a day hike and want to spend some time at the beach, we would definitely recommend Second Beach.
Looking for more camping nearby?
Finding the best places to camp can be difficult unless you know exactly where to look. For that reason, we love camping apps that show us GPS pins exactly where we can set up camp for the night (legally).
Our favorite camping app is The Dyrt because they have the largest network of campsites in the USA. Simply set your filter to only show you the free campsites, and voila — free camping is made easy!
Want a major bonus?! (Yes, you do!) Use this link to get 30 days of The Dyrt’s Pro Membership totally FREE (no strings attached).
More things to do in Olympic National Park
We have a complete guide to Olympic National Park for first-timers, including all the adventurous things to do in Washington’s most diverse national park. If you’re looking for some quick answers, here are our top recommended things to do (other than camping on Shi Shi Beach of course — that’s a given!).
- Hike the Hall of Mosses trail in the Hoh Rainforest
- Discover Hurricane Ridge
- Hike to Sol Duc Falls
- Hike Mount Storm King
- Visit Lake Crescent
- Check out some of the other Olympic National Park beaches
- Soak in Sol Duc Hot Springs
- Hike to Marymere Falls
Planning a trip to the PNW?
- Read this first if you’re planning a trip to Olympic National Park!
- Find out exactly where to stay in Olympic National Park.
- You’ll want to check out the best Olympic National Park hikes.
- And don’t miss the top places to see in Washington State (our favorite US state!).
- Read up on all the fun things to do in Seattle.
- For a taste of #vanlife, choose from the best campervan rentals in Seattle.
- And while you’re in Washington, check out the cutest little town in the state: Leavenworth (we lived there for 8 months and have all the local secrets!).
- Headed south? Check out all the unique things to do in Portland.
- Plus, you’ll want a list of the best places to visit in Oregon!
Save this article to Pinterest for later!
We want to hear from you!
Are you inspired to try camping on Shi Shi Beach? Have you been there before? Leave your comment below and we’ll do our best to get back to you!


Do you know if the showers by the
general store has been updated or cleaned?
We showered there and it was really bad.
Thank you for the tips! I wanted to go there for so long. Your article is probably the most complete I have found about this place, it makes me want to go there even more! We’re probably going to be going next month, my husband and I, so this article is really helpful, thanks!
My wife and I first camped at Shi Shi Beach in Feb. 1977, two weeks before our son was born. We are planning a 4-day trip next week (mid-Sept.). Your description and information is by far the most thorough as I have researched. I led a group of several families to Second Beach and was disappointed by the crowds. Never going there again. We prefer Third Beach, Giants Graveyard and Toleak Point.
Randy and Rhonda
Hey Randy, glad we could help. Shi Shi is by far our favorite on that coast. Hope you enjoy your time there and let us know how it goes.
This guide is absolute fabulous!!! We hiked to Shi Shi and entered the beach complete shrouded in Marine mist. We hiked blindly for 2 miles and were so rewarded as the marine layer lifted and we were treated to the most beautiful day and night ever!!!! Absolutely gorgeous!!!! We were maybe one of 10 campsites on a Thursday night on the entire beach. The next night we hiked to Second Beach and while we scored an amazing site, we were quickly surrounded by so many others. Some that came at 10 pm and started coming wood to make a bonfire in the pouring rain! Literally, several were less than 10 feet away, it felt more like a car camping site And the trash . . . Horrific. We will never stay at Second again. Instead, I would opt to stay multiple nights at Shi Shi. Just make sure you hike to the end!!!! So worth it!! Thanks for this right up, it was incredibly helpful!!!
You’re very welcome Jennifer! Glad to hear you had an awesome time on Shi Shi beach. We preferred Shi Shi over Second Beach as well. Less crowded and much better sunset views. Thanks again for such a nice comment.
Great guide and I’m going to stop in for that shower on my way out! I feel like I should speak up about the muddy trails. As much as it may be unpleasant or uncomfortable, it is best to just tromp on through it instead of taking those newly made side paths. It is against Leave No Trace principles to walk outside the designated trail in situations like that. When people avoid the mud, the trail just continues to widen and damage surrounding trees and other sensitive plant and animal species. This place is obviously well loved and is suffering because of it. So many surface poops and paper flowers! ?☹️ We all need to do our part to Leave No Trace to keep these magical places wild.
Hey Carrie, Thanks a lot for this comment. We always try to follow Leave No Trace and encourage others to do so as well, but sometimes we fail. I appreciate you pointing this out and we’ve changed a bit of the article to encourage hikers to bring rubber boots. Thanks again!
This is a great guide! Thank you for putting it together. Especially appreciate the pronunciation tips 😉
Thanks Erica! Glad it’s helpful!
Thank you for the write-up! Very helpful. We’re going next weekend. Can’t wait. 🙂
Thanks! Hope you have a great time!
Great Information about Shi-Shi Beac!
Happy to help! Let us know if you end up going and how you like it!